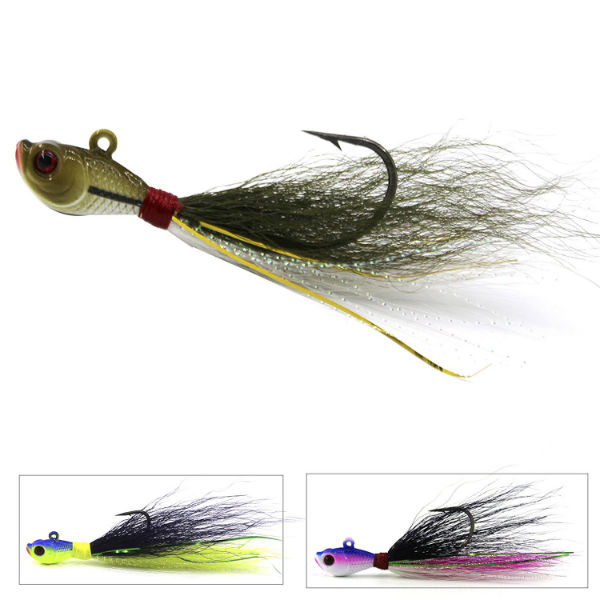
Are you struggling with jig fishing? You probably need to make some jig modifications. Here are the many secrets that I’ve collected and was finally able to publish. – Have a look!
Just the other day my wife had over one of her good girlfriends and her husband along for dinner. Well after dinner the men retreated to my office where I have my little man cave setup.
I was getting ready to go fishing the next day and I had a variety of jigs laid out. He saw that I had a pair of thinning shears on my desk and he asked if I was planning to give myself a haircut. Laughing, I told him I was modifying some of my jigs.
He has no idea what I was talking about and I walked him through the different ways and why I was making the modifications to my jigs so I can catch more bass.
Then it dawned on me … this is a pretty important part of getting my tackle ready. So I figured, I think that you all would benefit from learning my top jig modifications.
Consider The Lake You’re Fishin’
Normally a jig can be fished right out of the package but there are some things to keep in mind before you do that…
Tip 1) You need to consider the lake or body of water you’re going to be fishing …
Are the fish in this lake “little fish” or is this lake filled with Lunker’s? Or… How clear is the water? Or… Are the fish aggressively biting? And finally…. are the fishing conditions really difficult.
By answering those questions it helps you to determine what are the best modifications for your bass jig.
Large And In Charge
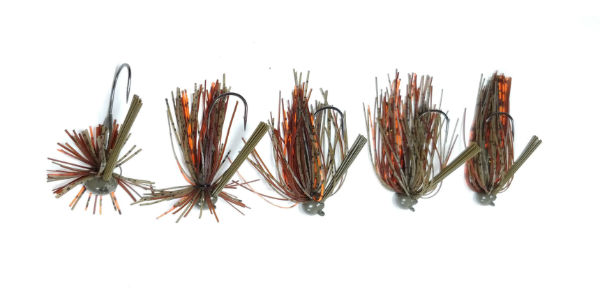
Tip 2 ) If there are a ton of big fish and they are aggressively biting you’ll just lightly thin out the skirt, but otherwise you can leave it as is.
This gives the jig a large profile for the bass to see and feel.
However, if the bite is a little more difficult you’ll need to make some more modifications to your jigs…
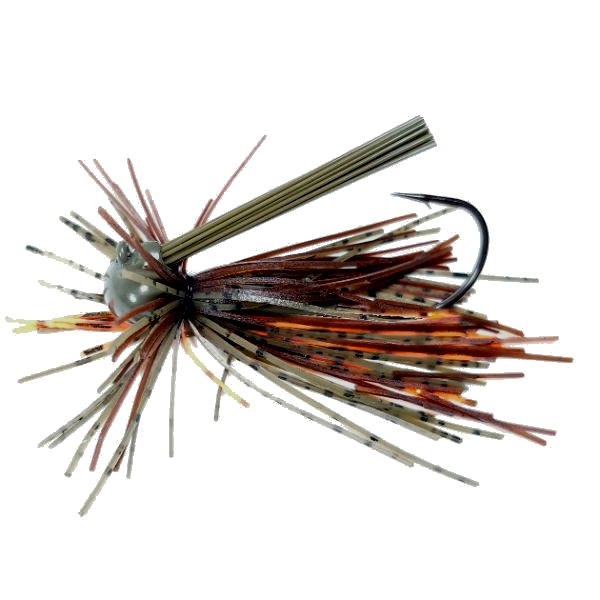
Trimming the skirt…
Here are several jig modifications to trim and modify the skirt like a Pro…
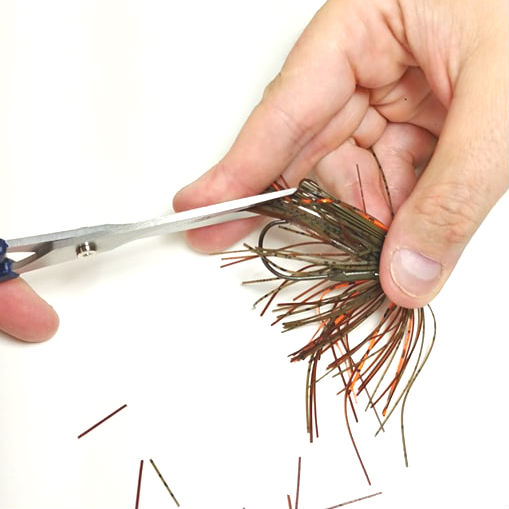
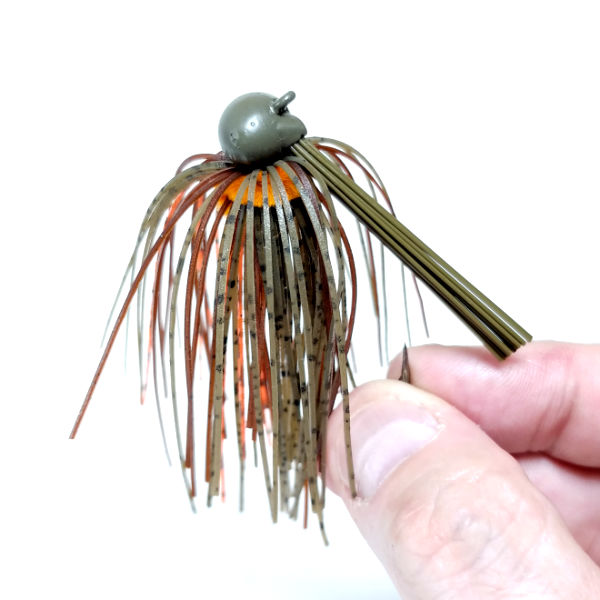
Tip 3) Give your jig the weathered look. If I’m at home I will take a pair of thinning shears used by hairstylists. You can buy these at Amazon and they’re super cheap.
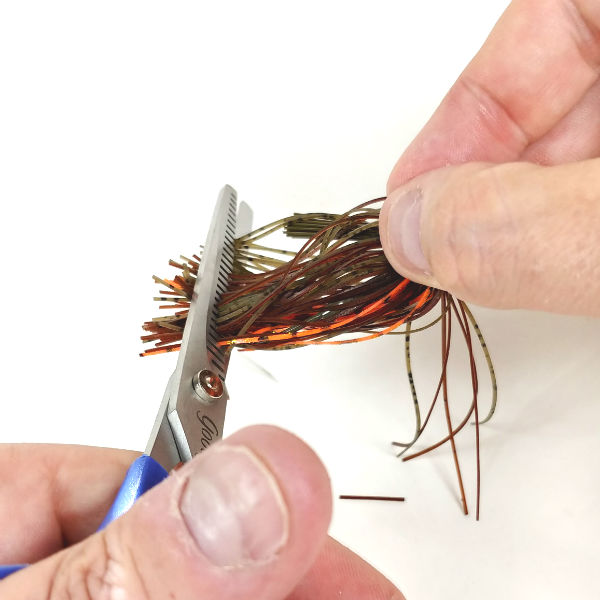
Use a pair of thinning shears to give your jig the weathered look.
What I’ll do is I will push the skirt down past the end of the hook and start doing my trimming.
Remember you can always take more off but you can never put back on, so take it slow at first and don’t be too gung-ho about taking off the skirt.
It’s best to practice on a couple of jigs you don’t really like before you go and modify your favorite jigs.
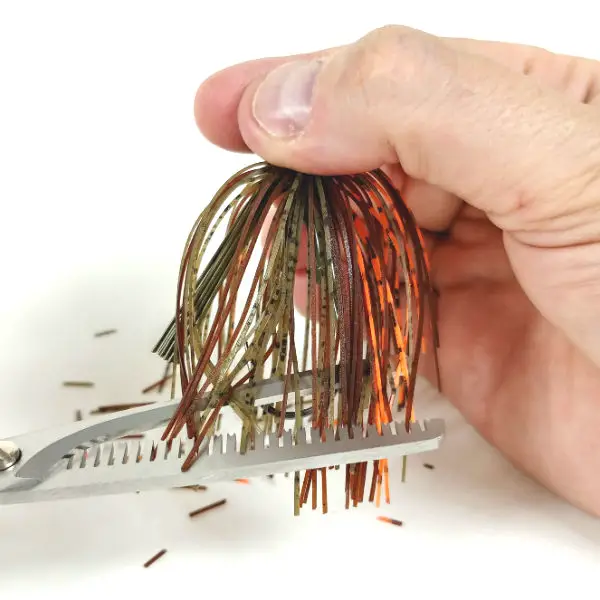
Use a pair of thinning shears to give your jig the weathered look.
Normally, you should start trimming the skirt right at the bend of the hook. Then you need to trim again, this time a little higher up (approximately ½ inch from the first cut.
This skirt modification will give your jig a “weathered” beaten up and eaten up look that the bass absolutely love!
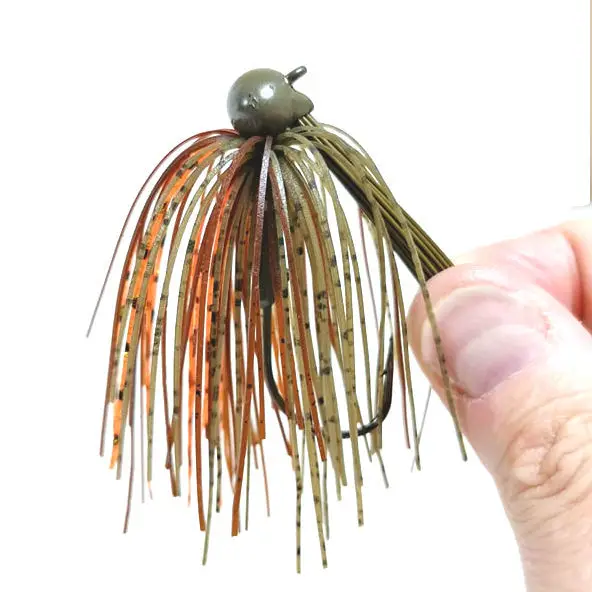
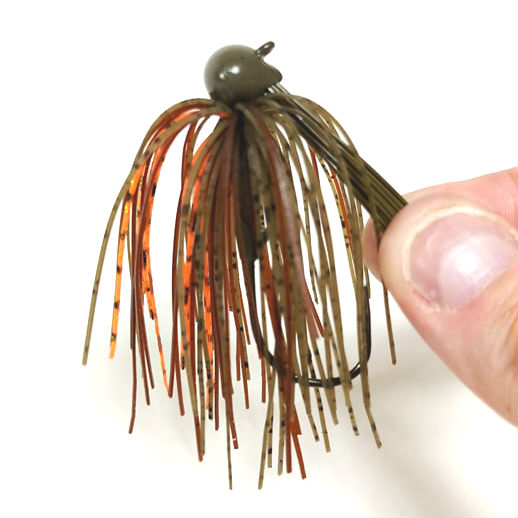
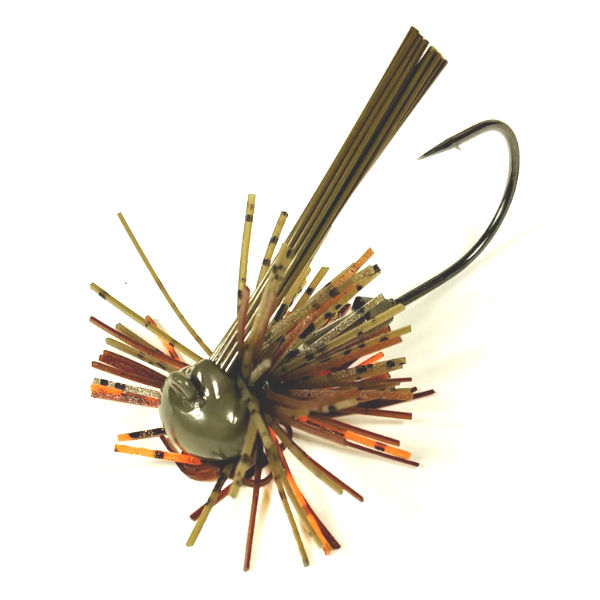
Final “Weathered” Look Using Thinning Shears
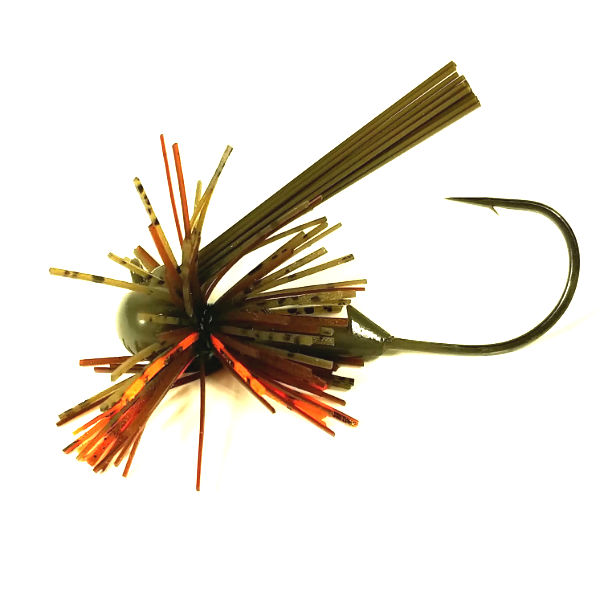
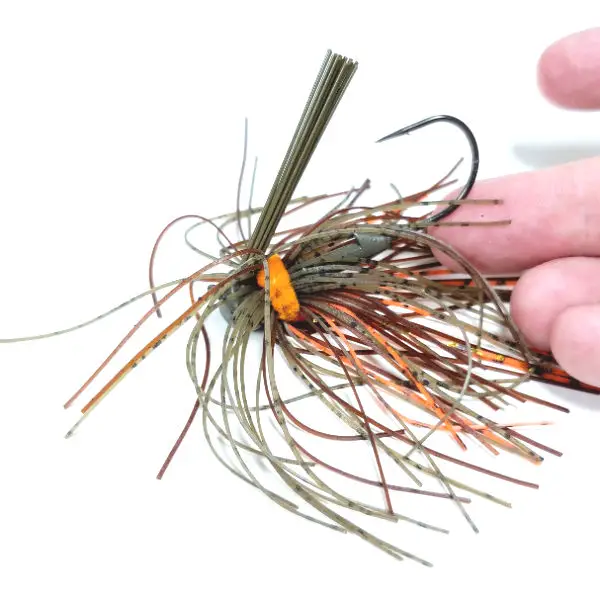
Give your jig give the “V” modification.
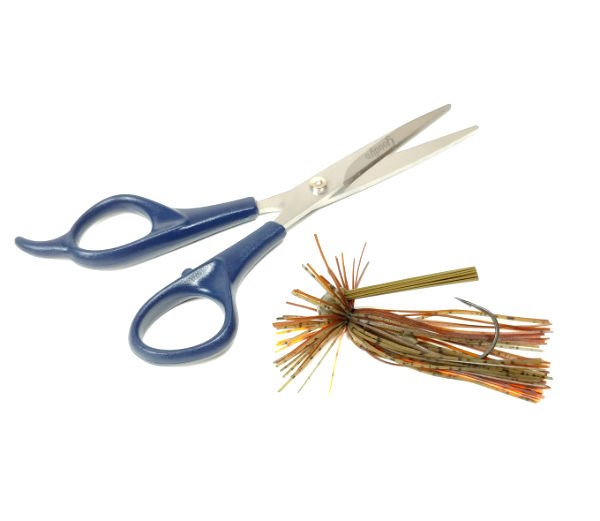
Tip 4) We know you’re busy … if you forget to trim the skirt at home, you should always have a pair of scissors in your tackle box to modify the jig.
Take the skirt bunch off down past the end of the hook…
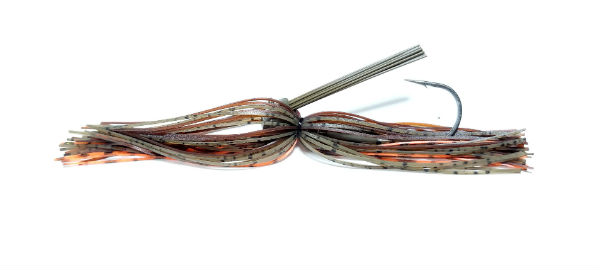
Make your first “V” cut away from the jig head
Make your second “V” cut toward the jig head
Then and starting with an outward angle at the bend of the hook I will cut on a 45 degree angle away from the jig. Then about halfway I will angle the scissors back towards the jig…
It kind of looks like an outward pointing “V” when you’re done.
Final scissor “V” cut for to modify your bass jig
Cutting the jig skirt down to a V-shape makes the bait more compact for skipping.
Read more: How Skip A Jig Quickly & Easily In 5 Simple Steps
Hate The Straight…
Tip 5) Hate the straight. Never, ever cut straight across because you’ll always cut the skirt too short.
If I need to cut more off that’s okay, I can always take some off I will but I’m always a little conservative at first just to see what it looks like.
I’ve ruined many great jig skirts because I was a little too over-aggressive with the cutting.
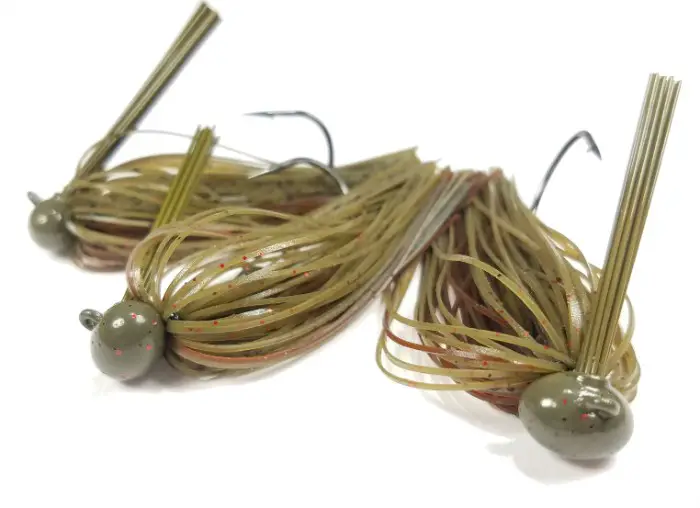
Give your Jig A Diet….
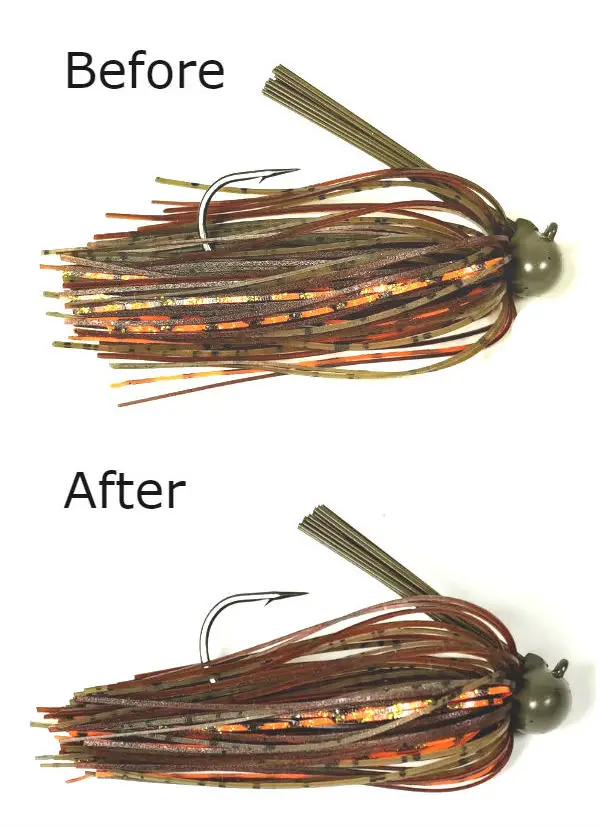
I can remember when I first started to think about jig modification, I took one of my favorite jigs and started cutting down the skirt. After I was done it looked horrible … my jig looked like it had a 1980’s-style rock band mullet! It was brutal.
One thing you’ll notice by modifying the jig skirt is that you’ll see your jig has a completely different action underwater. You see, jigs straight out of the package still have a long skirt, sometimes the skirts strands will have a tendency to stick together and not give it a very lifelike appearance.
However, after you’ve modified your jig skirt, you’ll see the jig’s skirt will fold in on itself when it’s being pulled. But when you stop it the skirt will naturally flare out looking like little legs or claws or appendages. It’s really cool, you’ll have to check it out when you do this to your jigs.
Tip 6) PRO TIP: Denny Brauer says to give your jig a smaller profile, pull out 1/3rd of the strands. Works great on all types of jigs and excels in clearwater or high pressured water.
Bon Jovi Mullet On My Jig? Oh Wait You Mean… How to make a finesse jig!
Tip 7) Fun with the finesse jig modification. First separate the two sections of strands that are separated by the jig collar that’s holding the strands on the jig (we use a 60 pound test braided line, others use a cheap rubber band).
Example of how to separate the silicone strands for jig modification
The “front strands” are the silicone strands located towards the jig head and will lay over the collar when the jig is fished. The “back strands” are closer to the hook and will remain relatively straight when fished.
Holding only the front strands, cut approximately one inch from the collar. You’ll immediately notice the strands will spring out straight. Now take your thinning shears and trim down some of the remaining strands.

Thinned out finesse jig – note the irregular strands.
Combining the weathered jig with the finesse jig…
Tip 8) First start by trimming the back strands using the thinning method taking a little bit off at a time. You’ll need to trim the front strands by using the how to make a finesse jig method that we discussed in the section above.
This is one of my favorite ways to modify my jigs. It makes the jig look beat up, uneven and super natural looking to the bass
How to make the Pom-Pom jig…
Pom-Pom jig
Tip 9) This is quickly becoming my favorite method when fishing super clear lakes, fishing smallmouth and spotted bass.
Take your jig, grab the front strands make a finesse jig cut. Then, take your rear strands, make another finesse jig cut. It will make your jig look like a little POM-POM!!
I know, I know it looks super weird, but boy does it work! Be sure to use thinning shears to make the cuts look slightly uneven.
Pom-Pom jig
Another “sub-modification” of the POM-POM cut is I will use 3-4 strands of living rubber and leave it long. I think this looks like the little antenna!
Anyway, once you made the cuts consider adding a little sound by adding a rattle collar.
Finally, Pair it with a smaller profile soft plastic craw and BAM you’ll be set.
When combined with tungsten jig head it gives the bass a presentation that they have never seen before.
This jig will work phenomenally well in clear or high pressured water, in the wintertime, or in spring pre-spawn (using natural colors) and during spawn (using white colors).
Modifying your bass jigs by adding color to your jig…
Tip 10) A couple of ways to add some color to your jigs skirt. The first way is to make your own jigs by adding your own color combinations that you would not normally see in your local tackle shop.
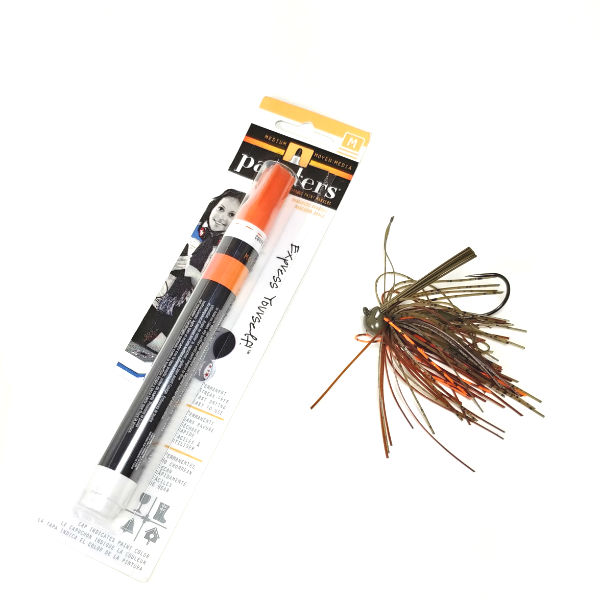
Tip 11) If you have a favorite jig that you don’t want to change out the skirt but still want to add a few more strands of colored silicone. You can always super glue on some skirt material at the collar.
This is especially useful when you only want to add a couple of bright strands of color, say orange, chartreuse, blue or even red.
Shaddock Micro Hair jig
Tip 12) I’ve added marabou flashing and tinsel to my hair jigs and they look amazing under water.
Tip 13) You can also consider dyeing the skirt a different color such as chartreuse or fluorescent red. Sounds interesting, but I haven’t tried that yet.
Give Your Jig A New Collar…
Another great way you can add color is to modify the the collar of the jig…
Tip 14) One of the easiest ways you can add a little bit of color by tying a small bright colored string or yarn around the neck of the jig. This gives it a subtle changing color that will look a little more natural in the water.
Tip 15) If you have the time, money and patience you can make your own jigs… which gives you the opportunity to buy colored collars. However, I don’t recommend rubber collars because they’re cheap, crack and rip easily and they’ll quickly ruin your favorite bass catching jig.
Head Color Change?
Tip 16) I like to add some color to the jig head especially when the bass are very aggressive. Normally I will only add some color on the bottom of the head. This will give your jig a “color flash” when you pop it off the ground or out of the grass. Highlights of orange, red, or chartreuse painted on the head work really well.

Tip 17) Using a high quality oil-based colored marker is a great way to quickly add permanent color to the jig head. The best part is it’s not water-soluble! Cool right!
Tip 18) If you have a little bit more time you can also take an airbrush or spray paint to the jig head. Remember once you airbrush it you also have to seal it with a slow cure 2-part epoxy acrylic paint (which is the most common airbrush paint – and easiest to find – and you don’t need any special ventilation) is water-soluble and will eventually be washed or scratched away.
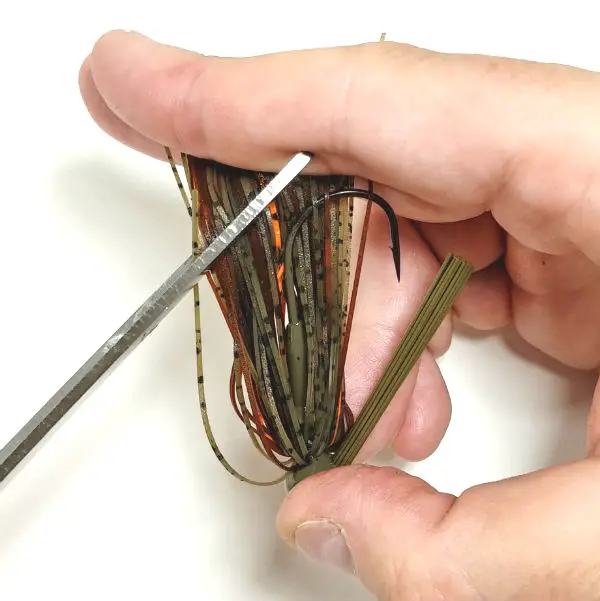
Trimming The Weed Guard…
Tip 19) For some reason trimming the weed guard stirs up several different opinions from anglers, however, this is the way that I do it on all of my jigs…
First I will push the weed guard down, past the barb of the hook. Not the tip of the hook, the barb. Any extra material extending past the barb you should trim off.
Some guys recommend cutting it straight, while others recommend cutting on an angle. I just cut it straight because I’m a simple guy and it’s just easier for me to remember.
Tip 20) If you’re fishing in open water or if the structure around the area is sparse and you’re not worried about the jig getting hung up, then you can always completely cut out a handful of weed guard strands.
Doing this can increase the hook up ratio a soft biting fish, because it will make the weed guard weaker.
Tip 21) If you notice your fishing in an area that has lots of structure and you keep on getting your jig hung up. another modification to the weed guard is spreading the strands apart (as if you were fanning it apart), as compared to leaving them bunched up.
This will further prevent accidental hang-ups.
Tip 22) AVOID cutting the weed guard too short! It will make it very stiff and hard to set the hook. If that happens, either cut a few strands completely out or cut off the weed guard altogether.
Adding Sound To Your Jig…
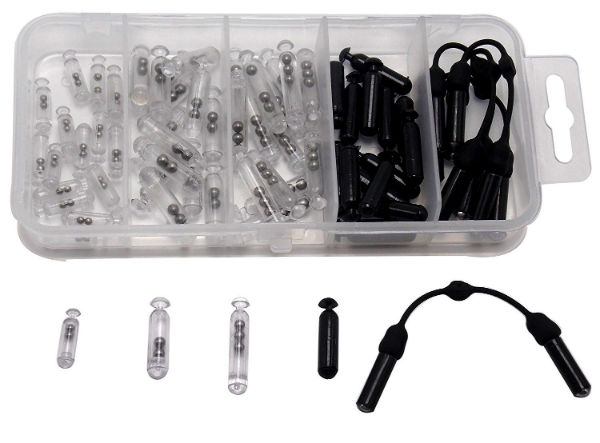
Tip 23) By giving your jig a little extra sound the bass can quickly locate if the water is dirty or stained, or if you’re fishing at night. Adding sound to the jig will also call in bass from farther away.
Simply thread the tip of the hook through the hole in the collar and push it past the bait keeper barb.
This jig rattle kit makes this jig modification BIG time saver because you can buy jig collars that have rattles already added which makes it incredibly convenient.
You Can’t Catch A Fish With A Door Knob…
My old fishing buddy Ron always used to say, “you can’t catch a fish with a doorknob”. At first, I thought his dementia was kicking in, but what he meant was that you can’t catch any fish using a dull hook… like a round doorknob!
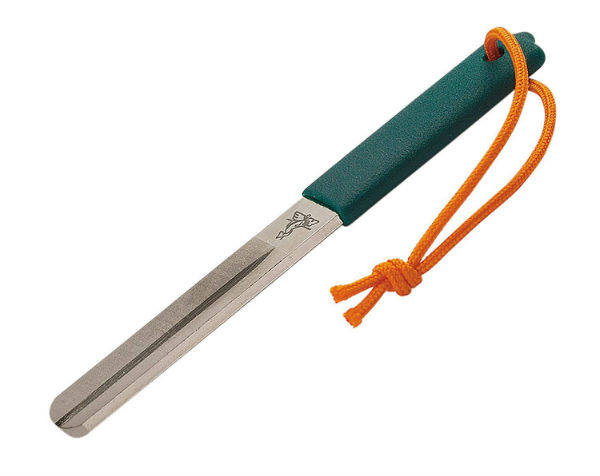
Tip 24) Double check the tip of your hook to make sure it remains sharp. Make sure you buy a hook sharpener and keep it in your tackle box or on the boat.
And easy way to check the sharpness of the hook is to drag it along your fingernail. If it does not make a mark easily then you need to sharpen that hook. Don’t lose fish because of a dull hook.
Do An Eye Exam…
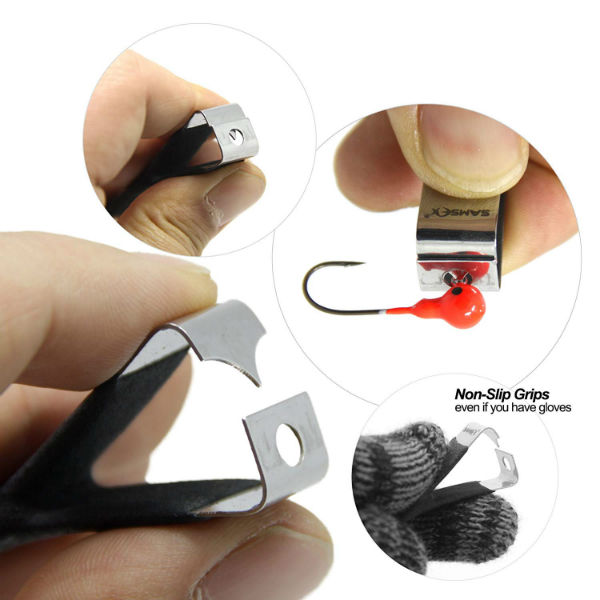
Tip 25) Another thing to be sure and do is check the eye of the jig. Make sure there’s no cracked or chipped paint, dirt or dried on vegetation. This can weaken your knot and cause unintentional break-offs. Use a Jig Eye Cleaner & Line Clipper.
Add A Little Fish Crack…
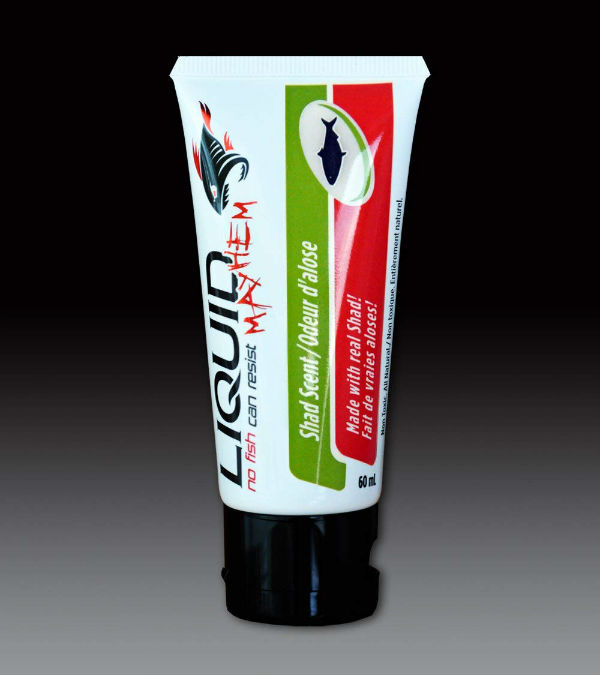
Tip 26) By adding scent like Liquid Mayhem With Real Crawfish Scent. It can increase the number of bites you get but more importantly, I feel that the bass will hang on longer. There are many different scents that you can apply to it. There are scents that you can dip, spray, or wax rub on to your jig.
Tip 27) No matter what scent brand you choose make sure it is oil-based. Oil-based scents stay on longer and will disperse completely throughout the water column.